


Chapters and scenes
The Timeline tab is the spine of your novel.
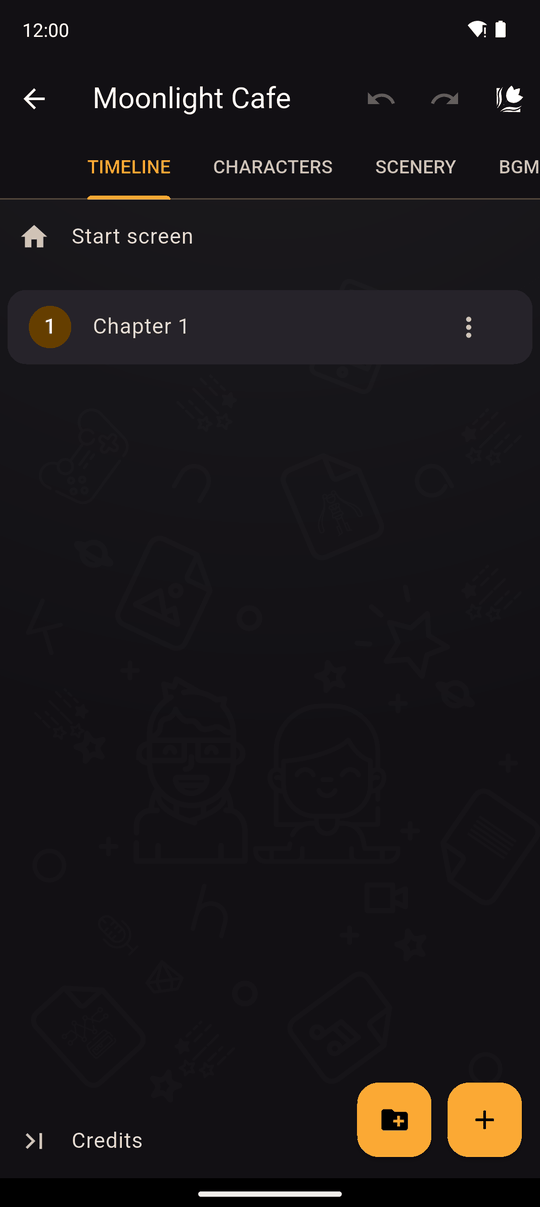
Chapters
- Tap + to create a chapter and give it a title (Enter the chapter title). Titles must be unique and can't be empty.
- Tap a chapter to open it and see its scenes.
- Drag a chapter to reorder it. Use its menu to Rename, add Conditions, Move to a folder, or Delete.
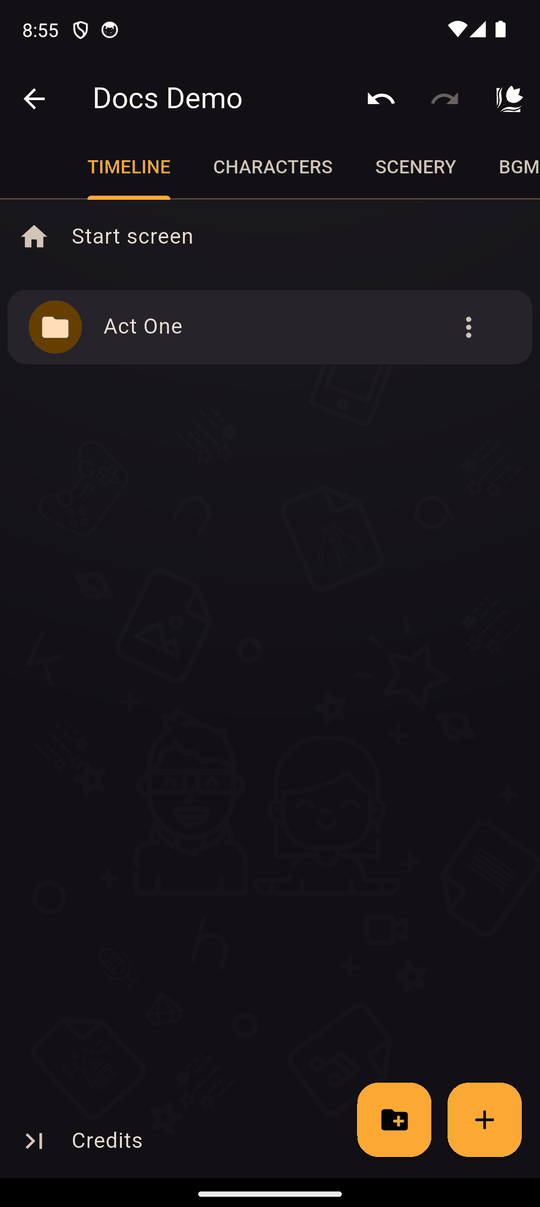
Readers play chapters in the order shown, from the top.
Scenes
Inside a chapter, tap + to create a Scene (Enter the scene name). Names must be unique within the chapter.
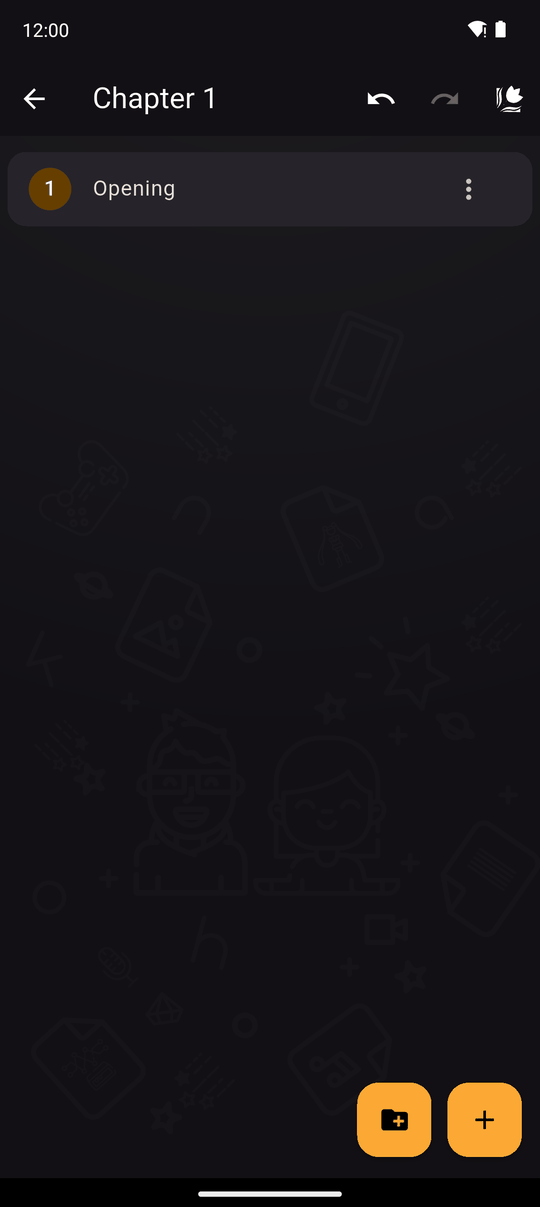
- Tap a scene to open the scene editor.
- Use Preview in a scene's menu to play just that scene. See Previewing and testing.
- Drag scenes to reorder them. Each scene's menu has Rename, Preview, Conditions, Move to and Delete.
Scenes play in order, and when the last scene of a chapter ends, the next chapter begins.
Scene settings
Inside the scene editor, Scene settings has one switch, Keep previous scene assets:
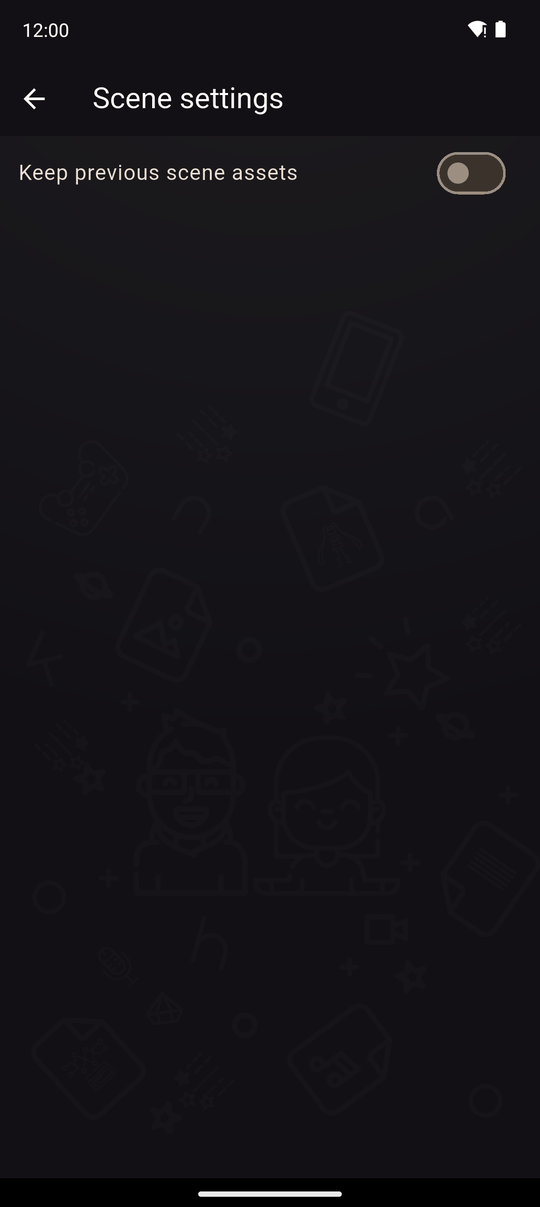
| Setting | When this scene starts |
|---|---|
| Off (default) | Everything from the previous scene is cleared: background, characters on stage, music, sounds and any text |
| On | The background, characters and music carry over, so the scene continues seamlessly |
Turn it on when a scene is really a continuation of the one before it.
Start screen and Credits
At the top of the Timeline you'll find Start screen and Credits, which are edited separately. See Start screen and Credits.
Conditions
A chapter or scene (or a folder of them) can have Conditions so it only plays when the story's variables say so. See Conditions.
Deleting
Deleting a chapter deletes its scenes and their actions. Deleting a scene deletes its actions. The app asks you to confirm, and you can undo it. See Undo and redo.